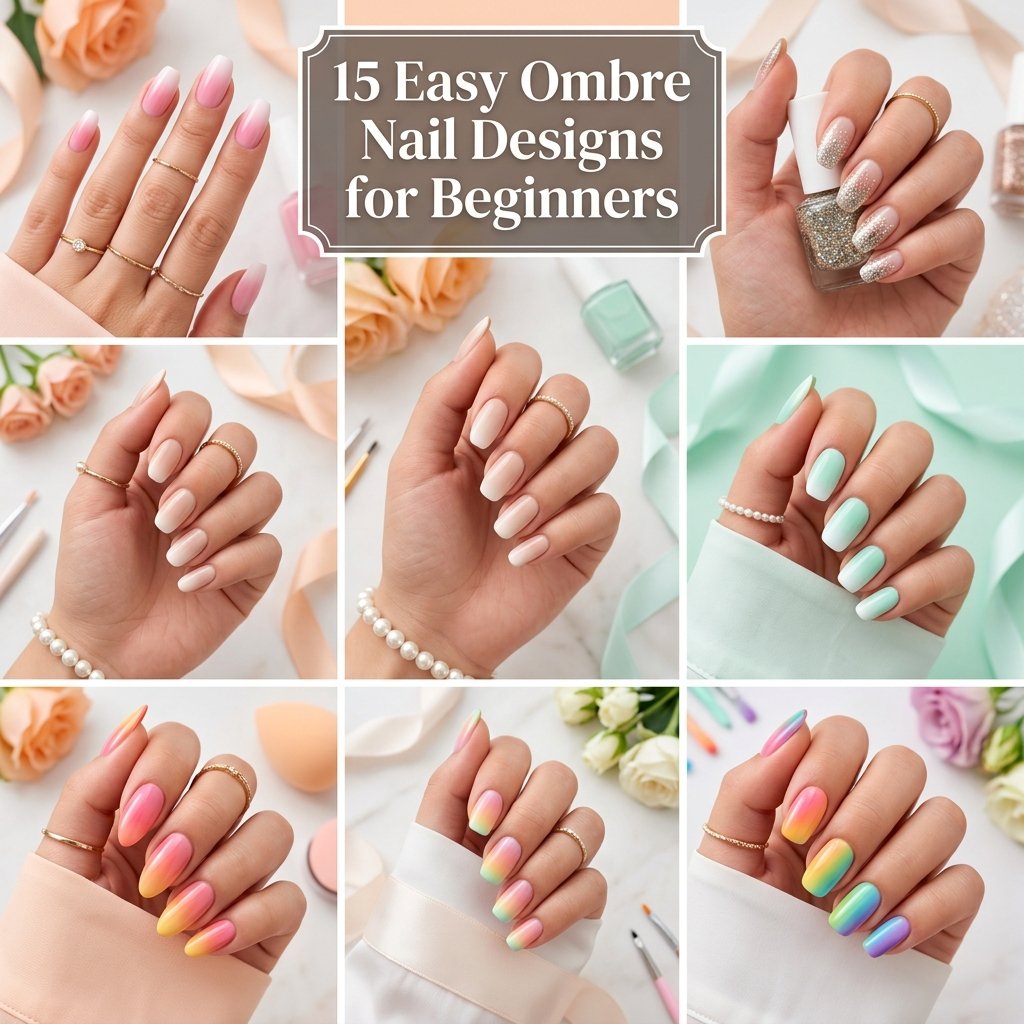
If you’ve ever scrolled through Instagram or Pinterest and admired those smooth, blended nails that look effortlessly stylish, you’ve already seen the magic of Ombre Nail Designs. The good news? You don’t need a professional nail artist or expensive salon visits to achieve that look.
Ombre nails are one of the most beginner-friendly nail art styles because they don’t require perfect precision. In fact, the beauty lies in the soft blending of colors. Even if your technique isn’t flawless, the end result can still look stunning.
In this guide, you’ll learn everything from tools and techniques to 15 easy designs you can try at home. Whether you prefer soft neutrals or bold gradients, this article will help you master the art step by step.
What Are Ombre Nail Designs?
Ombre nails are all about gradual color transitions. Instead of sharp lines, colors, shades blend seamlessly into each other, creating a soft gradient effect.
You can experiment with:
- Light to dark shades of the same color
- Completely different colors
- Glitter fades
- Matte or glossy finishes
The versatility of this style is what makes it so popular. It works for casual days, formal events, and everything in between.
Tools You Need for Ombre Nails at Home
Before starting, gather a few simple tools. You likely already have most of these at home.
Essential Items
- Base coat and top coat
- Two or more nail polish shades
- Makeup sponge
- Nail polish remover
- Cotton swabs
Optional but Helpful
- Nail tape or liquid latex
- Nail art brush
- Glitter polish
Having the right tools makes the process smoother and less messy.

Step-by-Step Guide to Creating Ombre Nails
Mastering the technique is key to getting a smooth gradient.
Step 1: Prep Your Nails
Clean, shape, and apply a base coat. This protects your nails and helps polish stick better.
Step 2: Apply Base Color
Start with the lighter shade. Let it dry completely before moving on.
Step 3: Sponge the Colors
Apply two colors on a sponge and dab gently onto your nails.
Step 4: Build the Gradient
Repeat the dabbing process until the blend looks smooth.
Step 5: Seal the Look
Apply a top coat to smooth out the texture and add shine.
Easy Ombre Nail Designs for Beginners at Home
If you’re just starting out, these Ombre Nail Designs are simple, forgiving, and perfect for practicing at home. Each design below focuses on easy blending techniques, minimal tools, and beginner-friendly color combinations. You don’t need professional skills just patience and a little creativity.
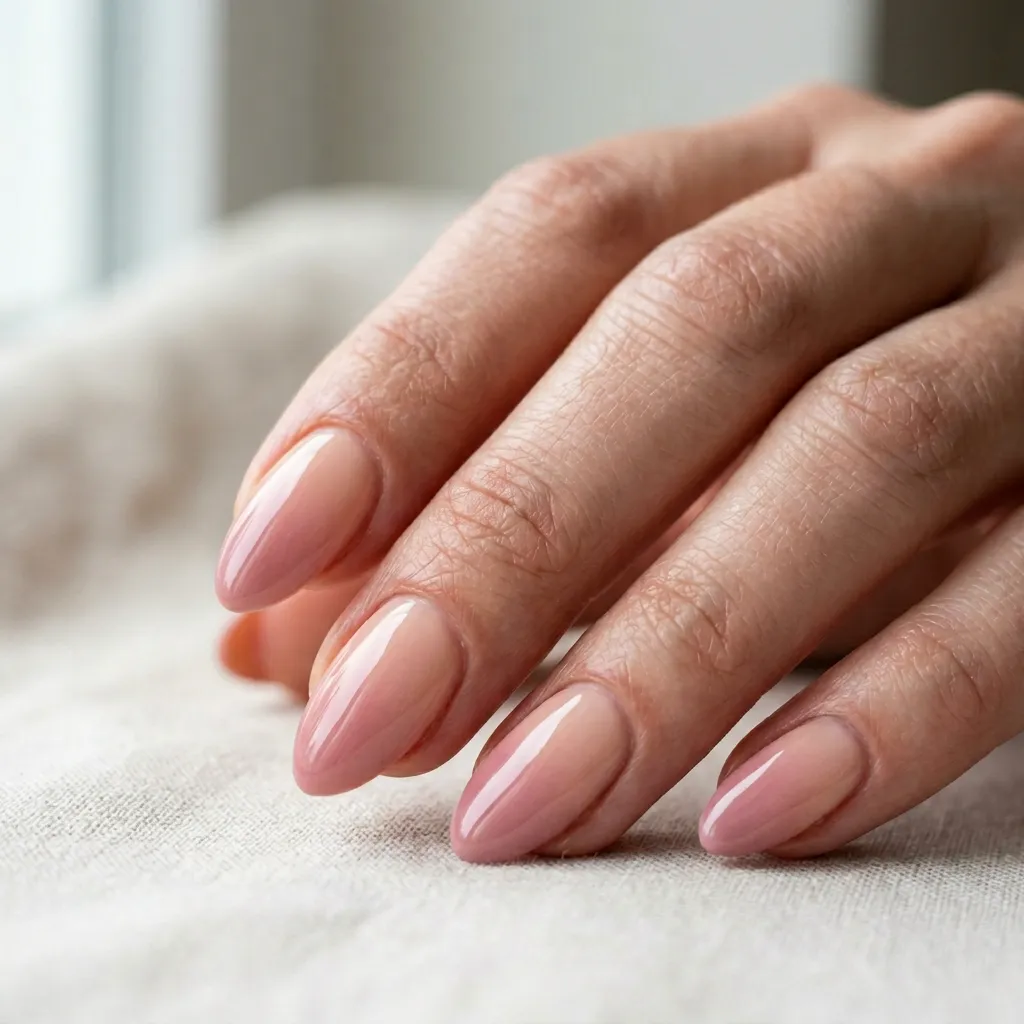
Classic Pink to White Ombre Nails
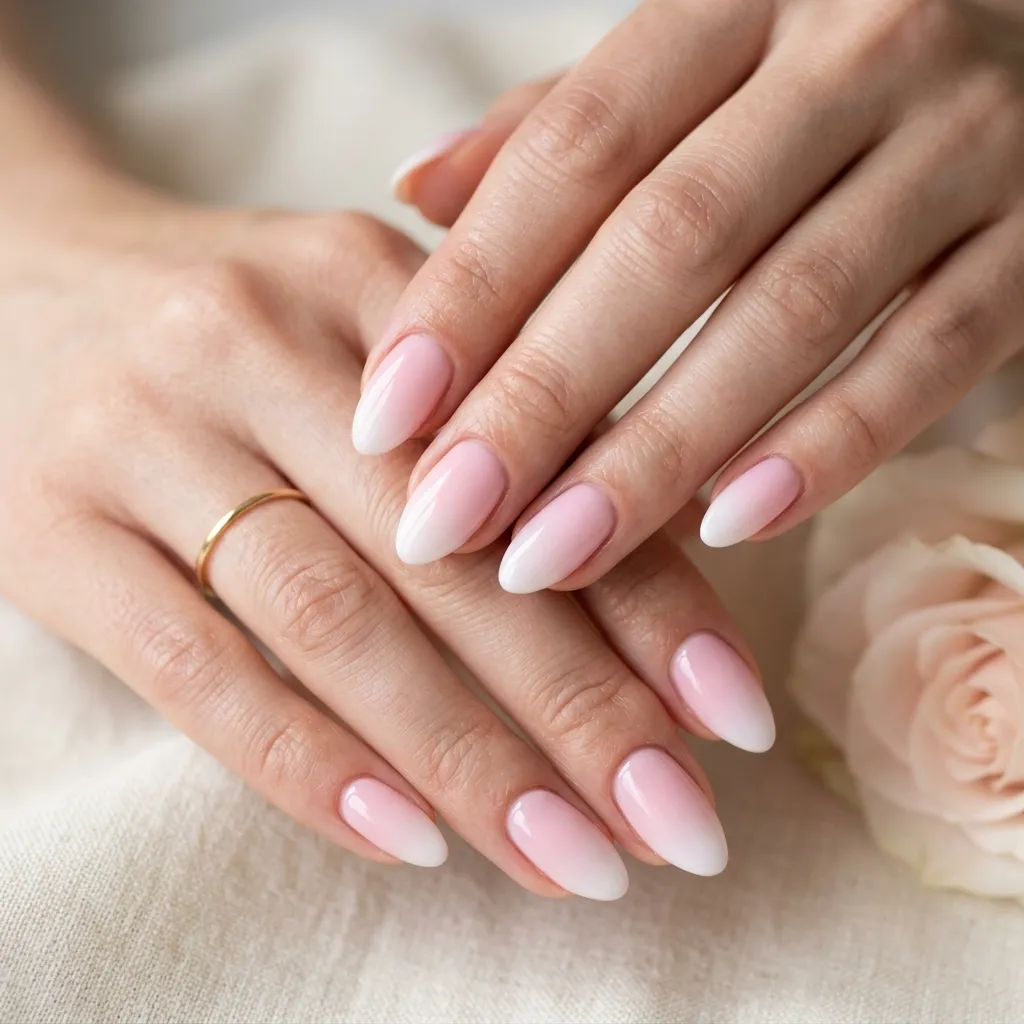
This timeless design is often called the “baby boomer” nail and is perfect for beginners. The soft transition from pink to white gives a clean, natural, salon-quality finish. It’s ideal for weddings, daily wear, or professional settings. Because both shades are light, blending mistakes are less noticeable, making it a great starting point.
Nude Beige Ombre Nails
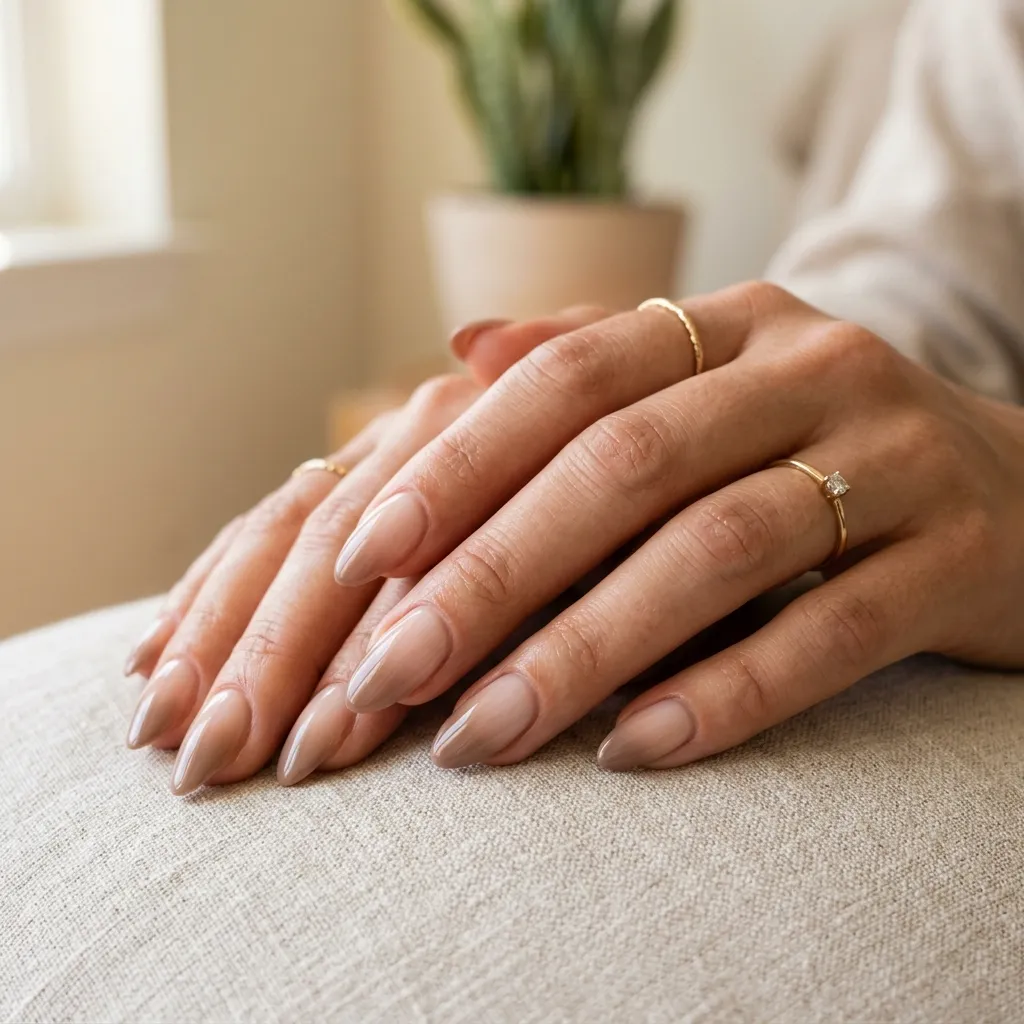
Nude tones are perfect when you want something subtle yet stylish. This design blends beige into a slightly deeper brown or taupe shade, creating a natural gradient. It’s especially suitable for office environments or minimalist aesthetics. The neutral palette also complements every skin tone beautifully.
Sunset Orange Ombre Nails
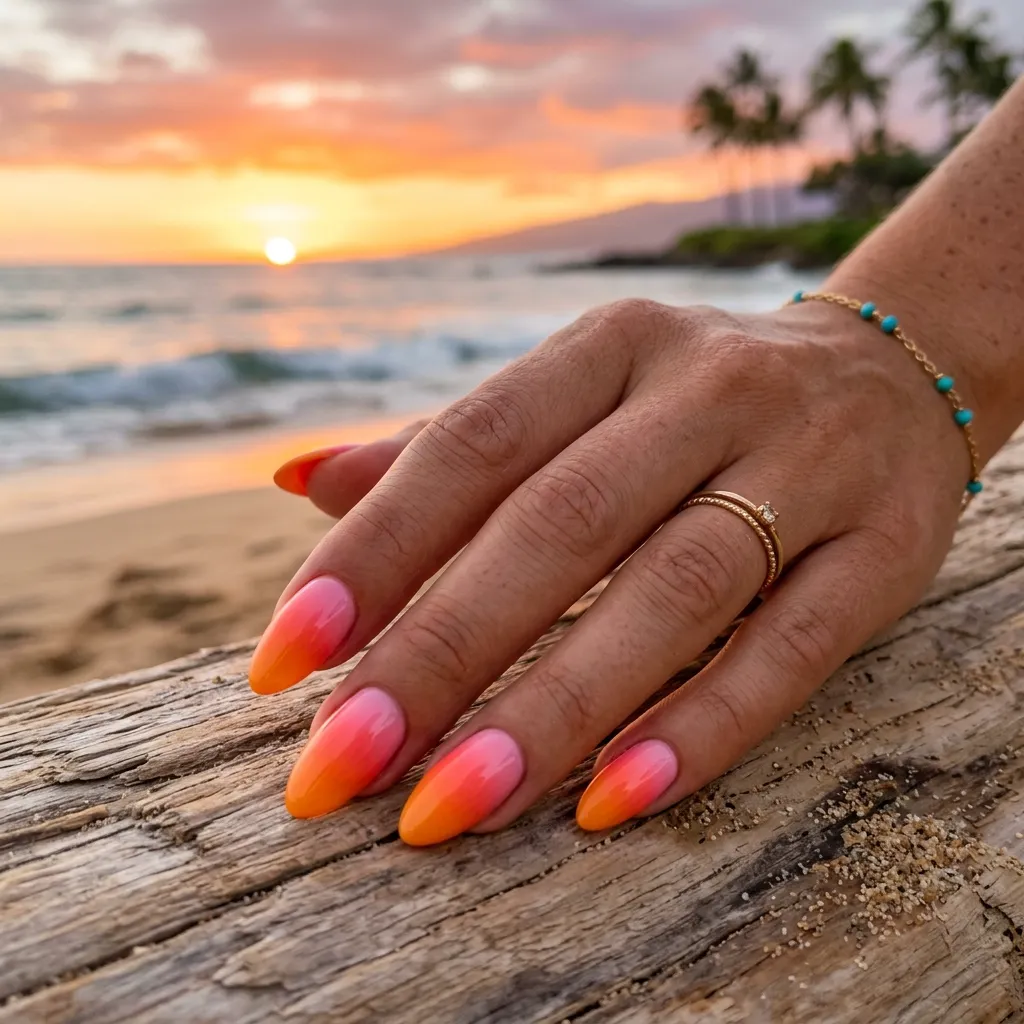
Inspired by evening skies, this design blends warm tones like orange, coral, and pink. The gradient creates a vibrant yet soothing effect that feels summery and fresh. It’s a great way to experiment with brighter shades without going overboard. A glossy finish enhances the sunset effect.
Sky Blue to White Ombre Nails
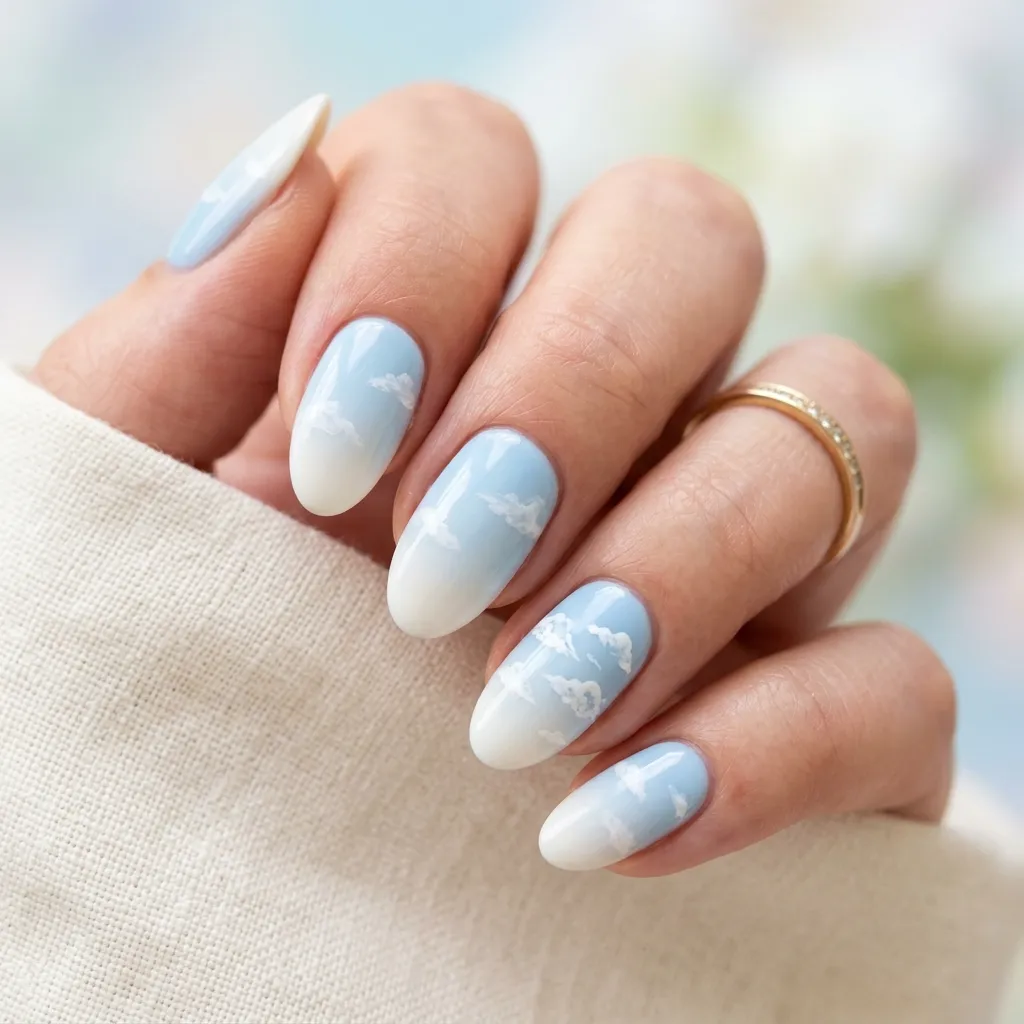
This light and airy design mimics a clear sky fading into clouds. Blue and white are beginner-friendly shades that blend easily and smoothly. You can even add tiny cloud details for a playful touch. It’s calming, fresh, and perfect for everyday wear.
Glitter Tip Ombre Nails
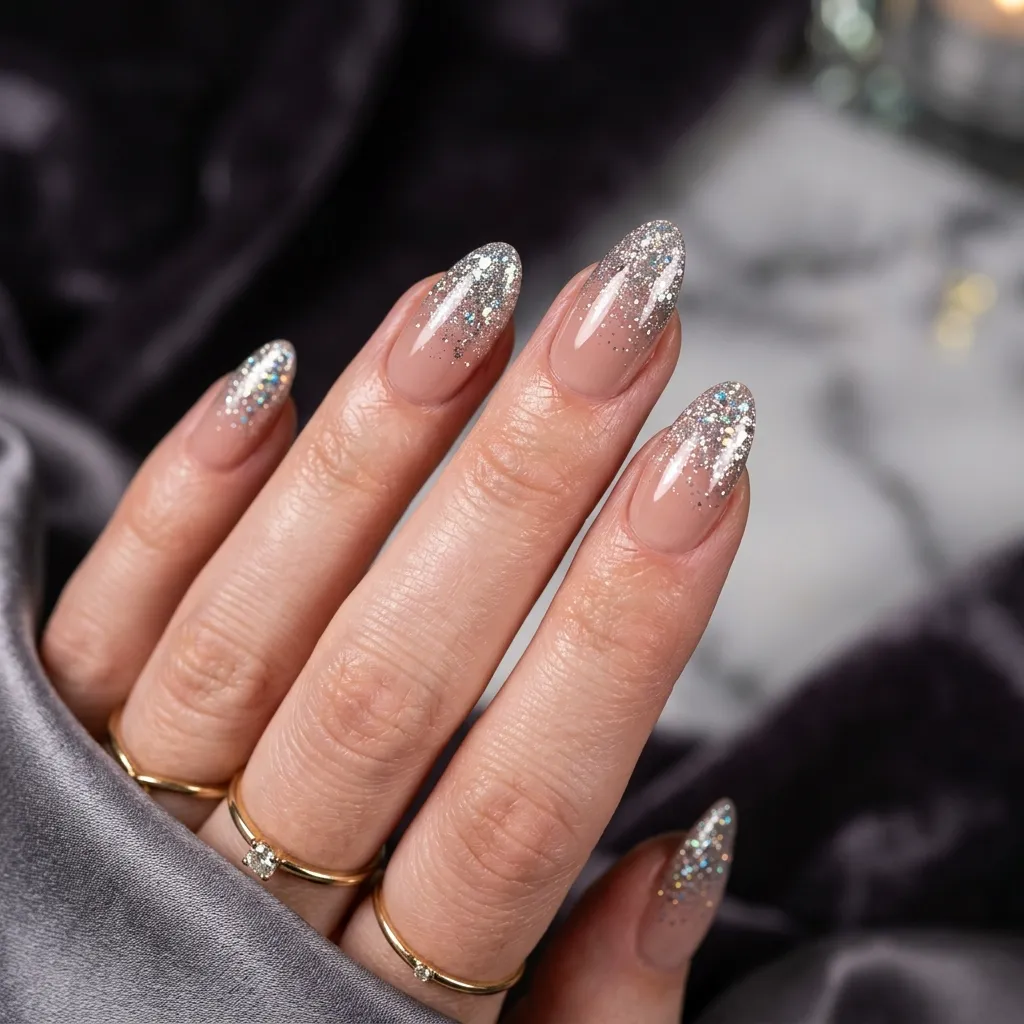
This design is perfect if you want something eye-catching with minimal effort. Start with a nude or light base and dab glitter polish toward the tips. The sparkle gradually fades downward, creating a beautiful ombre illusion. It’s ideal for parties or festive occasions.
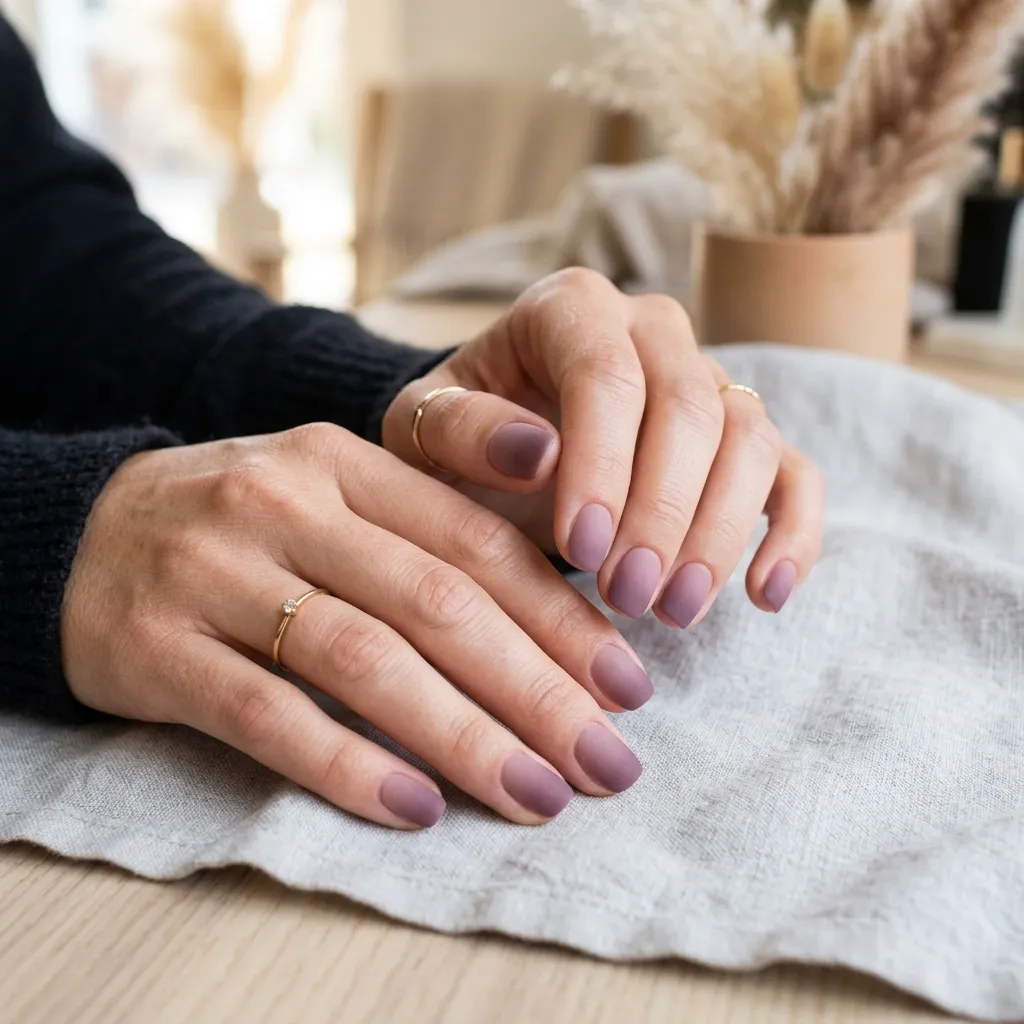
Lavender Pastel Ombre Nails
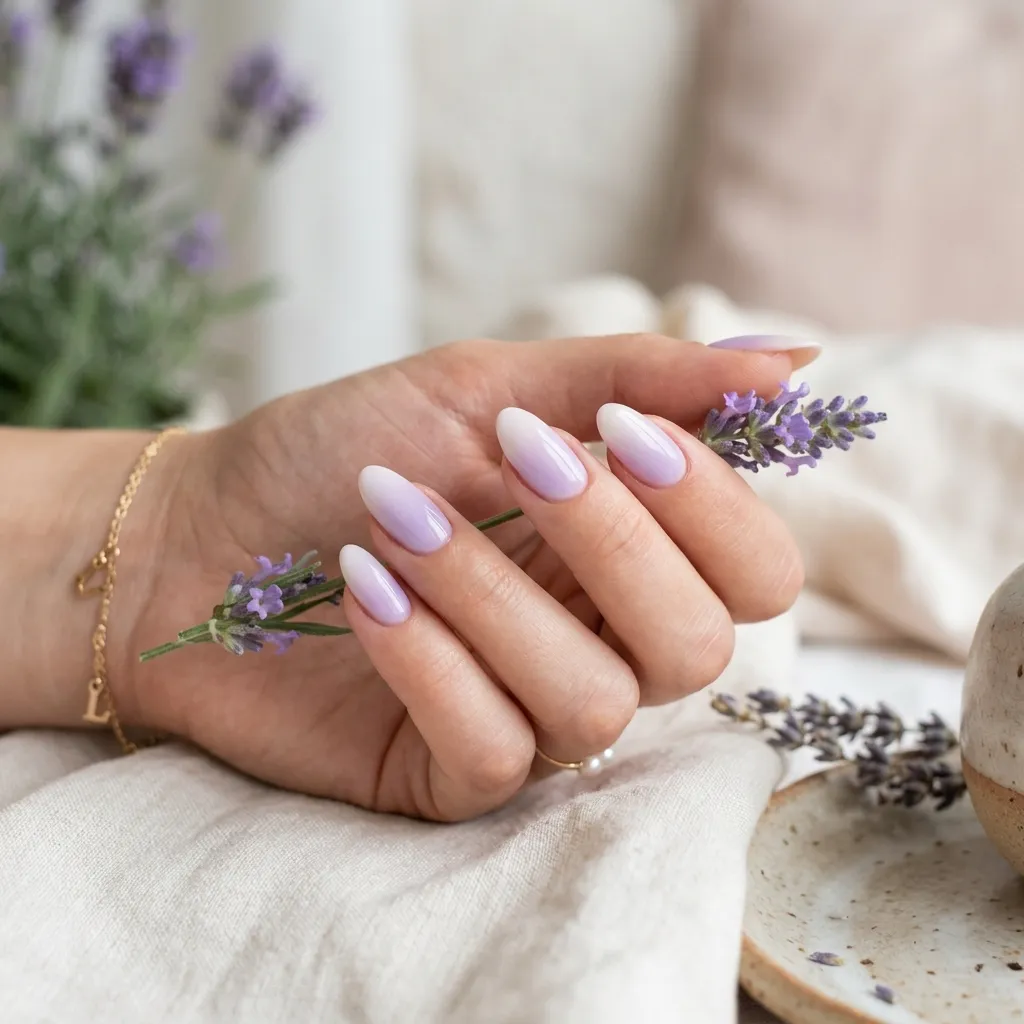
Lavender tones create a soft, dreamy appearance that’s perfect for spring. Blending lavender with white gives a delicate gradient that feels light and feminine. This design works well on both short and long nails. Keep layers thin to maintain a smooth finish and look like pastel nails.
Black to Gray Ombre Nails
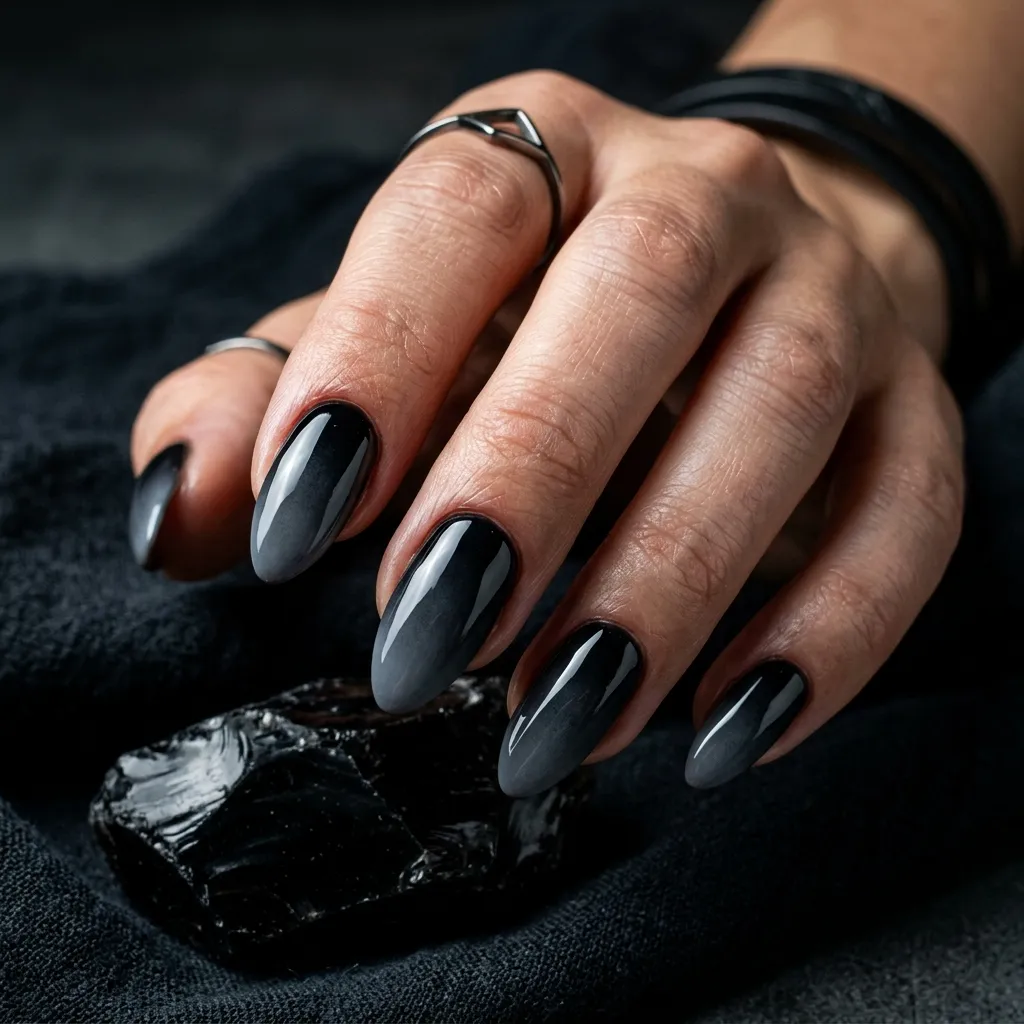
For those who prefer bold looks, this edgy gradient is a great choice. The transition from black to gray creates depth and drama. While darker shades require a bit more blending effort, the final result looks sleek and modern. A glossy top coat enhances the effect.
Coral Peach Ombre Nails
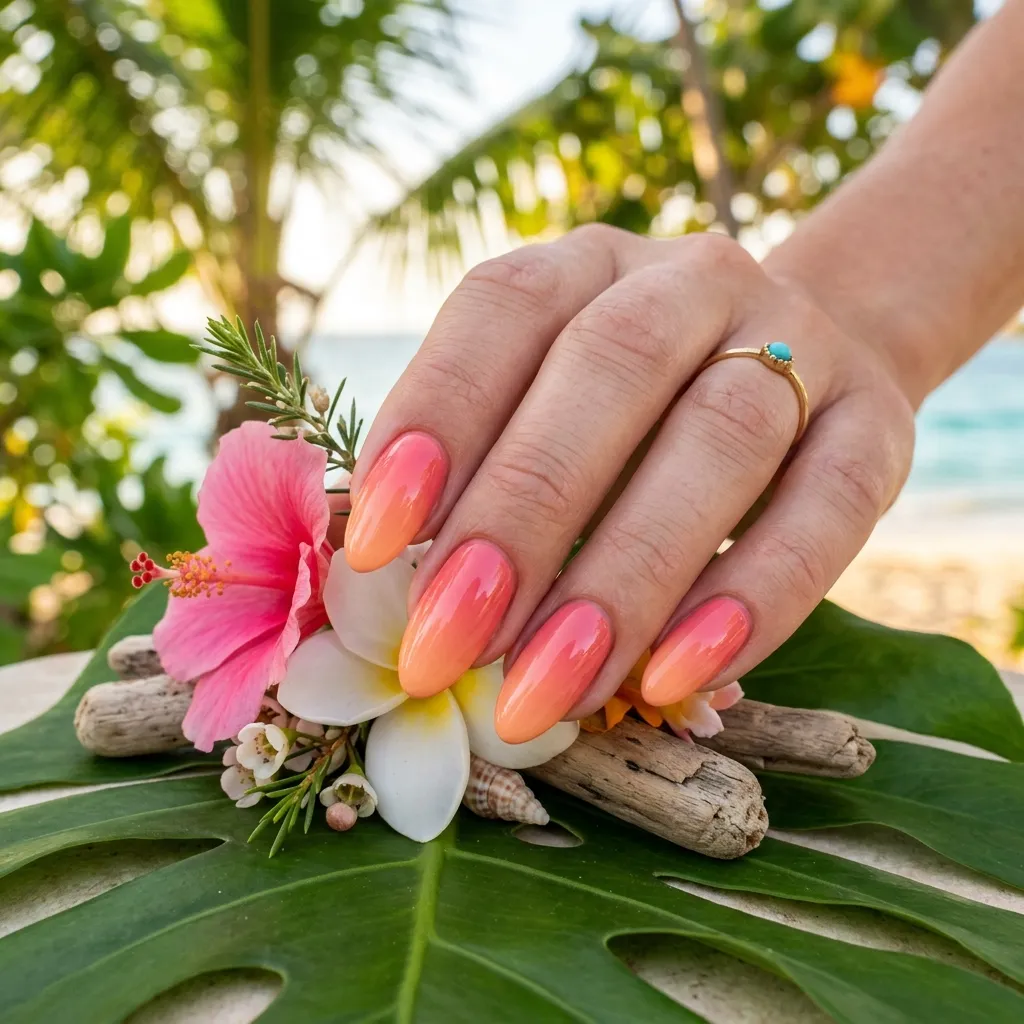
This warm-toned design is perfect for summer nail color vibes. Coral blends beautifully into peach, creating a soft yet vibrant gradient. It flatters all skin tones and works well for vacations or casual outings. The colors naturally complement each other, making blending easier.
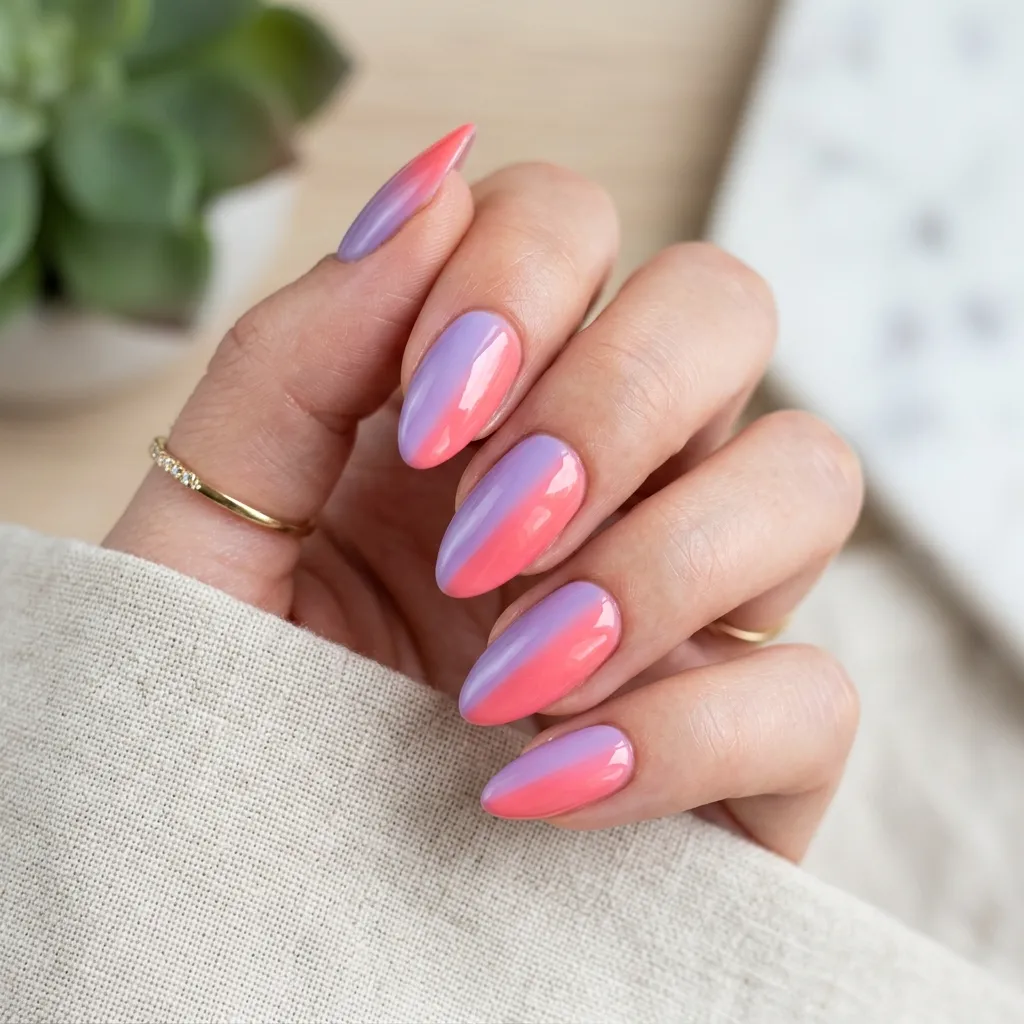
Pink and Purple Ombre Nails
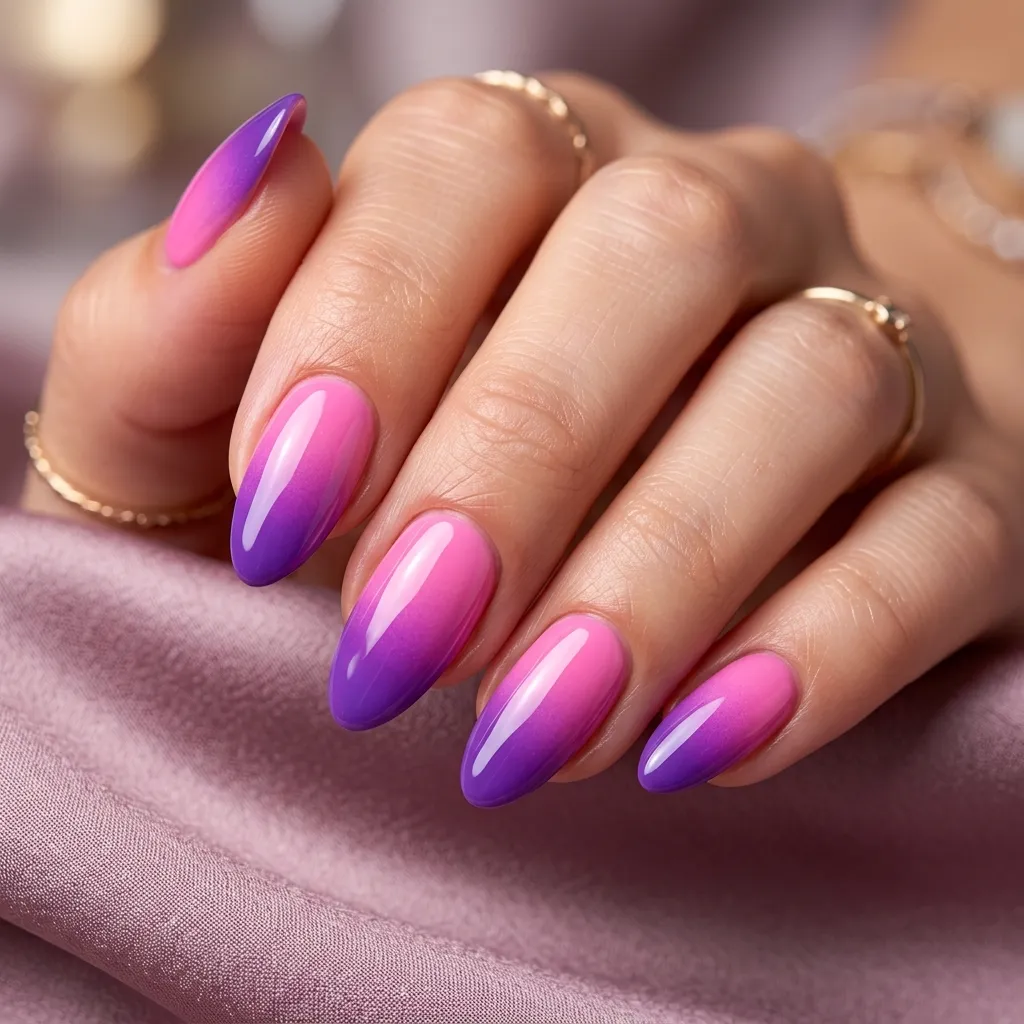
This playful combination is perfect when you want something fun and colorful. The blend from pink to purple creates a lively yet smooth gradient. It’s great for parties, festivals, or creative looks. Just make sure to blend properly to avoid harsh transitions.
Mint Green Ombre Nails
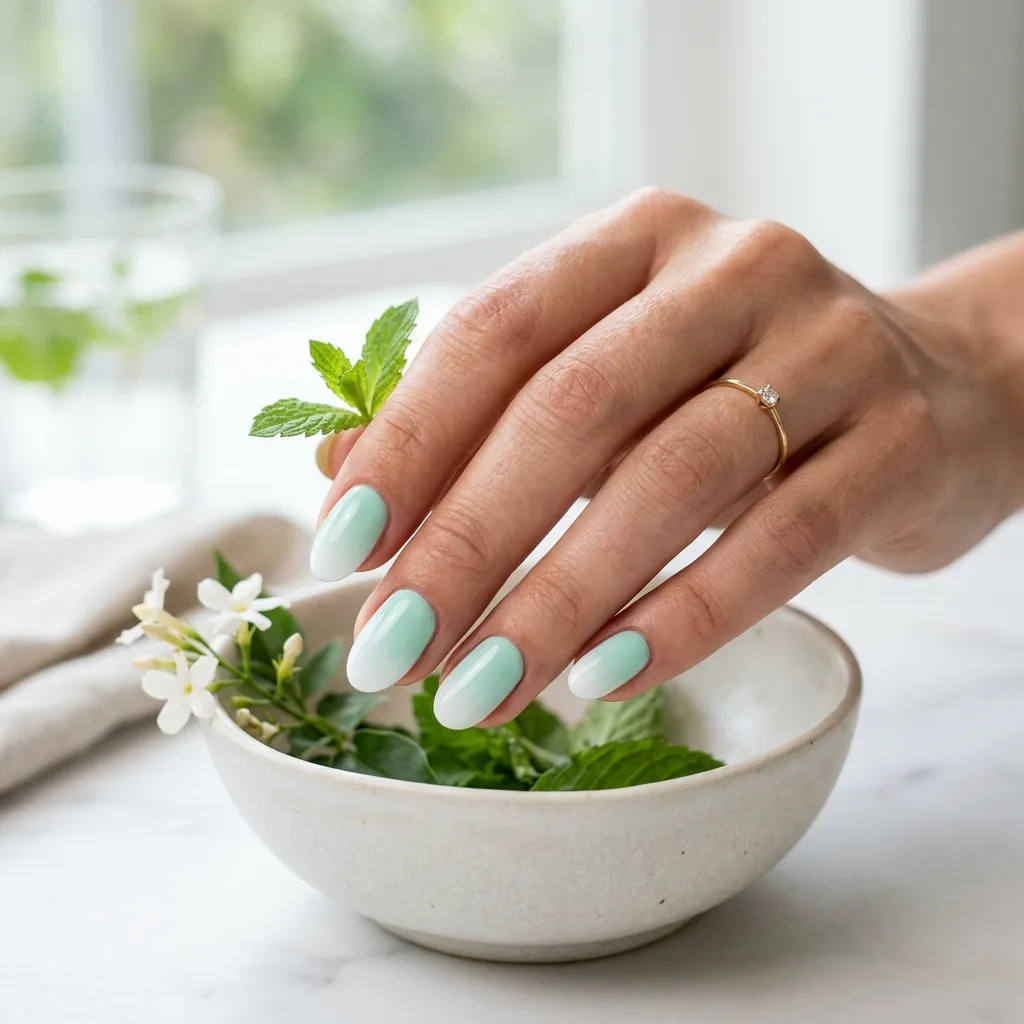
Mint green is fresh, trendy, and easy to work with. Blend it with white or a lighter green for a clean and modern look. This design feels refreshing and minimal, making it perfect for everyday wear. It’s also very beginner-friendly.
Rose Gold Ombre Nails
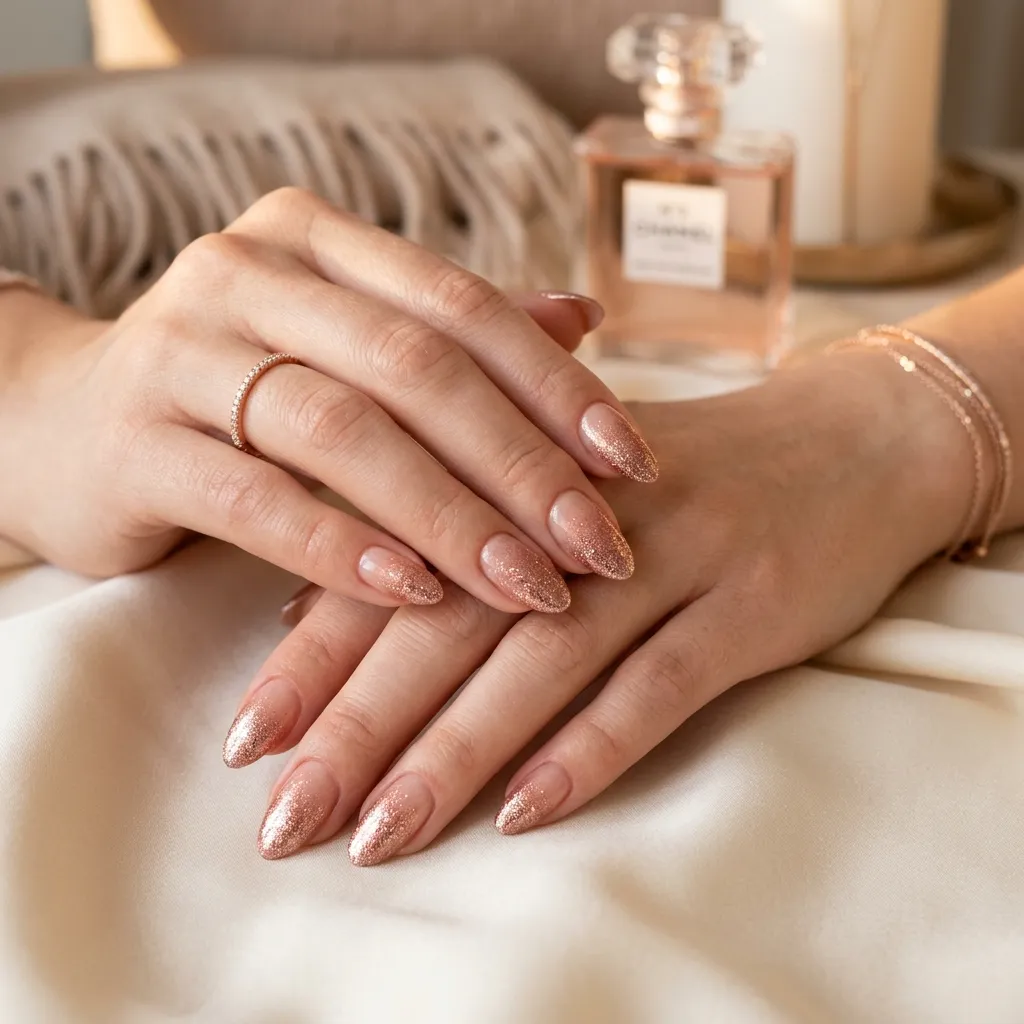
If you love a touch of luxury, this design is for you. Start with a nude base and apply rose gold polish toward the tips. The metallic shimmer adds depth and elegance without being overpowering. It’s perfect for events or special occasions.
Diagonal Ombre Nails
This variation gives a modern twist to traditional ombre. Instead of blending vertically, colors fade diagonally across the nail. It creates a unique and artistic effect. Use contrasting shades for a more noticeable gradient.
Rainbow Ombre Nails
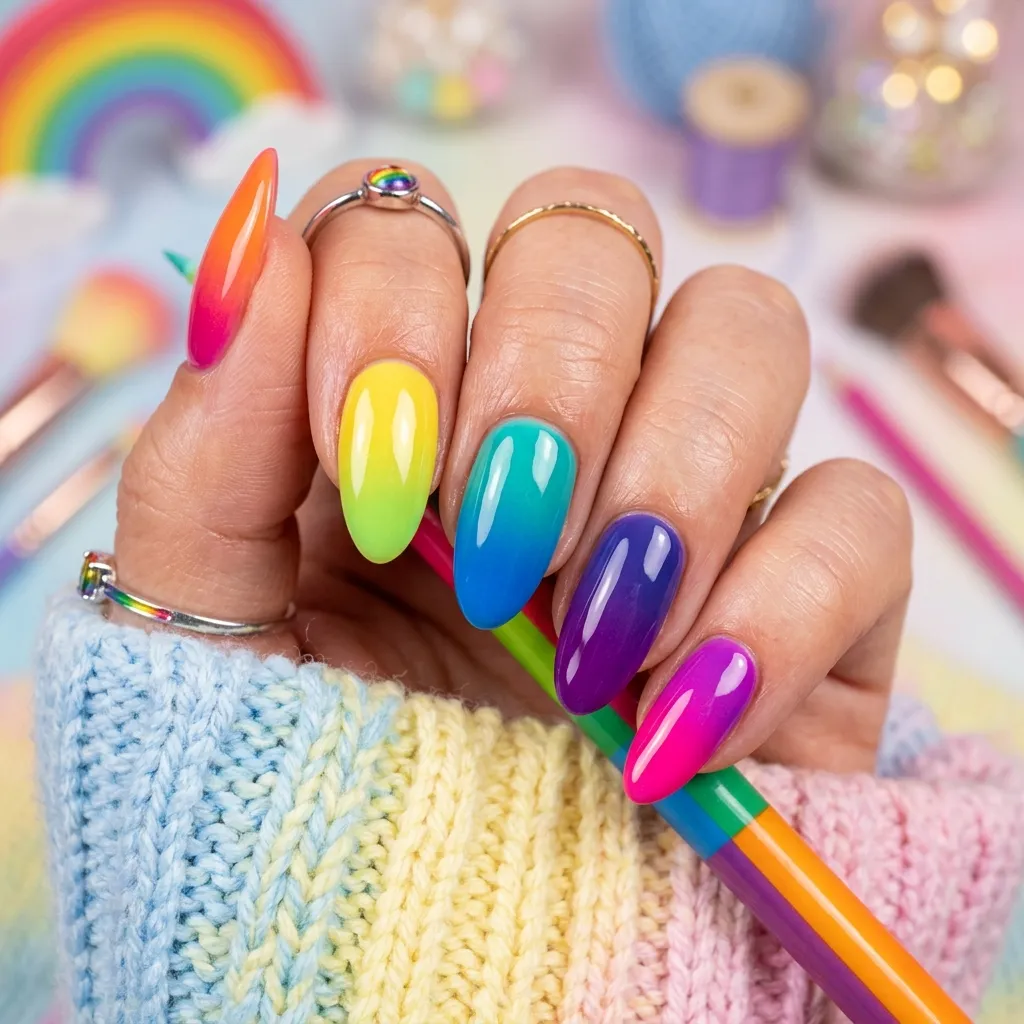
This fun design uses different gradients on each nail, creating a rainbow effect. It’s perfect for experimenting with multiple colors and expressing creativity. Despite its vibrant look, each individual nail remains simple to create.
Matte Ombre Nails
Applying a matte top coat instantly transforms any ombre design. It gives a soft, velvety finish that looks modern and stylish. Matte works especially well with darker or neutral tones. It’s a simple way to upgrade your nail look.
French Ombre with Glitter Accent
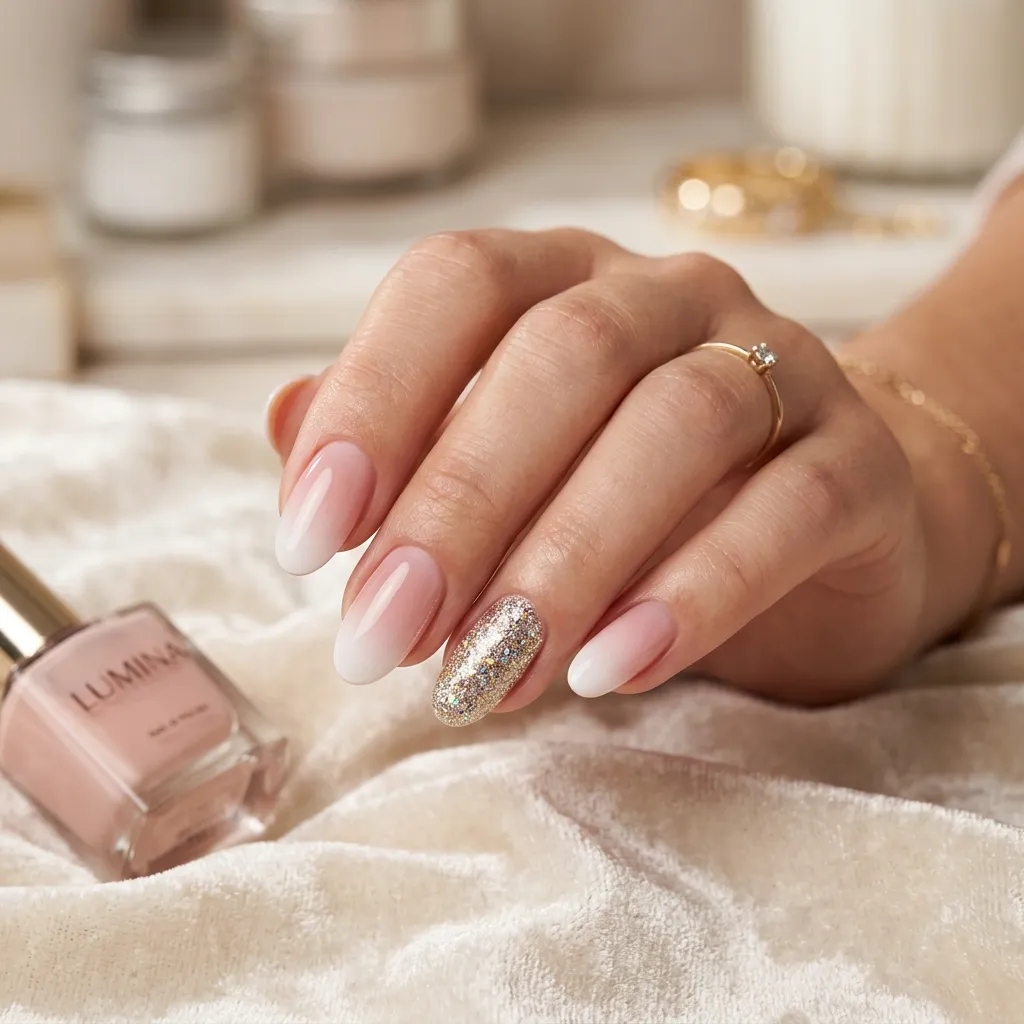
This design combines classic French ombre with a single glitter accent nail. It’s elegant, balanced, and perfect for formal events. The soft gradient keeps it subtle, while the glitter adds just the right amount of sparkle.
Common Mistakes to Avoid
- Applying too much polish on the sponge
- Not letting layers dry
- Skipping top coat
- Choosing clashing colors
Avoiding these mistakes will instantly improve your results.
Best Color Combinations for Ombre Nails
| Base Color | Blend Color | Result |
| Pink | White | Soft & Elegant |
| Blue | White | Fresh & Calm |
| Nude | Brown | Natural Look |
| Black | Gray | Bold Style |
| Coral | Peach | Summer Feel |
Pro Tips for Long-Lasting Ombre Nails
- Use thin layers for better blending
- Always seal with a top coat
- Clean edges with remover
- Practice on nail tips first
Small improvements can make a big difference in your final look.
FAQs
What is the easiest ombre nail method?
The sponge technique is the easiest and most beginner-friendly.
How long do ombre nails last?
They typically last 7–10 days with proper care.
Can I do ombre nails without tools?
Yes, but tools like sponges make the process much easier.
Which colors are best for beginners?
Light colors like pink, white, and pastels are easiest to blend.
How do I make my ombre smoother?
Apply multiple thin layers and finish with a glossy top coat.
Conclusion
Creating beautiful ombre nails at home is easier than you think. With the right tools, simple techniques, and these 15 beginner-friendly designs, you can achieve stunning results without stepping into a salon.
Start with basic styles, practice your blending, and gradually experiment with bolder looks. With time, your skills will improve and so will your confidence.